Herringbone braid: braiding instructions & tips
Braided hairstyles never go out of fashion. Just like the herringbone plait, a particularly beautiful braided style. Here we reveal step by step how to braid a herringbone plait yourself.
What is a herringbone braid?
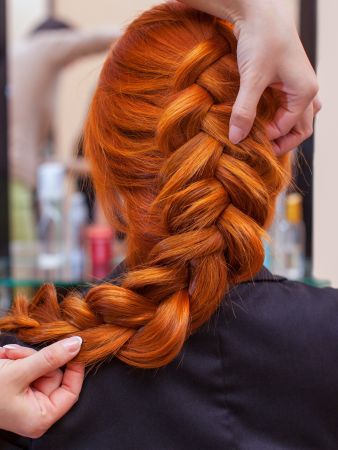
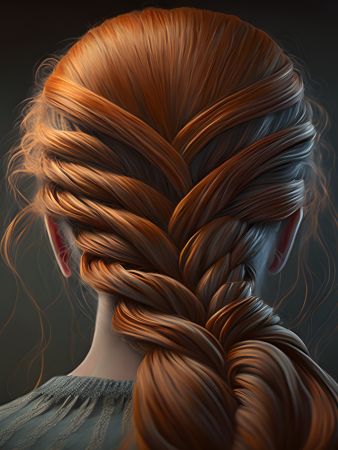
The herringbone braid owes its name to its appearance. It is reminiscent of the pattern of fish bones. Others call it a spikelet braid, similar to the arrangement of a corn stalk. In English, this type of braid is also known as a herringbone braid or fishbone braid.
How does the fishbone braid work (step-by-step instructions)?
All you need is long hair and a little dexterity. Because you can definitely make a fishbone braid yourself! The hairstyle looks much more difficult than it is. These herringbone braid instructions are also suitable for beginners.
Step 1
As with any styling and especially with braided hairstyles, the hair should not be freshly washed. The hair should be treated with a texturising spray in preparation so that it is nice and manageable. Start by combing or brushing the hair and parting it as required. For a large plait, divide the section of hair into two equally sized strands. If you want to braid two smaller plaits, divide the two strands again.
Step 2
Start on the right-hand side and take a thin strand from the bottom outside. Place this over the large strand of hair from which you took it and then let it fall to the large strand on the left-hand side. Now take the first small strand from the outside on the left-hand side, place it on top and then let it fall to the large strand on the right-hand side.
Step 3
Continue in this way until the end of the braid. If you have layered hair, a herringbone braid will be more difficult and not look as neat, as they end differently. The shorter strands will then come out of the braid. If you use thinner strands of hair, the result will be finer. With thicker strands, the result is a rather loose plait pattern.
Step 4
It is important that the braided strands are evenly thick. This is the only way to create a beautiful herringbone pattern. Secure the end of the braid with a hair tie in the same colour as your hair - done!
How do you style the herringbone braid?
If you want to create a more relaxed look from the classic version, simply loosen individual strands a little. This is ideal for layered hair. This allows you to hide the shorter strands visually. Pancaking is a great way to pimp up a herringbone braid. This gives the look a boho upgrade, i.e. a voluminous, wide look. Pancaking comes from the word pancake. The hair becomes wider, just like a pancake, hence the name. This is how pancake styling works with a herringbone braid: Once the braid is finished, gently pull the hair apart at the outer edge of the braid sections and loosen the strands. It is best to start at the bottom and carefully work your way up. To finish, fix the braided and pulled apart look with hairspray.
Variations of the herringbone braid
There are many different variations of the herringbone braid. And even with short hair, you don't have to do without the herringbone look. The herringbone braid styled loosely is absolutely trendy. Another popular alternative is the half-up version. Here, only the top hair is braided in a herringbone pattern and the rest of the hair is worn loose.
French herringbone braid
There are many different variations of the herringbone braid. One of them is the French fishtail, a very popular hairstyle at the moment! Here, you start braiding your hair into a fishtail braid right at the top of your head. Take a small strand in the centre at the top back of the head. Then divide it into two strands and braid a normal herringbone plait. Once you have braided twice in each direction, the strands outside the two strands are added. To do this, start with the strands that frame the face. Take a thin strand that is on the left outside the plait on the face and place it over to the right. Here you grab it together with the right strand. Repeat the process on the other side until all the loose hair is in the braid. You can then braid the herringbone braid all the way down as usual. The look is more relaxed if it is secured halfway down with a hair tie.
Herringbone braid for short hair
Two French herringbone braids look great on short hair. To achieve this, create a centre parting and braid a French fishtail braid on each side. For short hair, the look can be embellished with hair clipsor a hair band.
Herringbone plait pinned up
If you have longer hair, you can also create an updo with the herringbone braid.
To do this, twist the hair with acurling iron before braiding so that you have light beach waves as a base. This creates more structure and the strands that fall out around the face look nicer. After braiding two herringbone plaits, place the right plait to the left and the left plait to the right. Secure both with hair clips directly on the head so that the ends of the hair meet in the centre at the front just behind the hairline. For the boho updo look, pull out a few strands loosely to create a beautiful modern version of a loose herringbone braid in an up-do style.


