French Braid: Ideas, Tips & Instructions for Braiding
French braid: ideas, tips & instructions for braiding
The French plait is a classic par excellence - it is particularly popular with girls and young women. In summer, the French plait also enjoys great popularity at festivals.
What is a French plait?
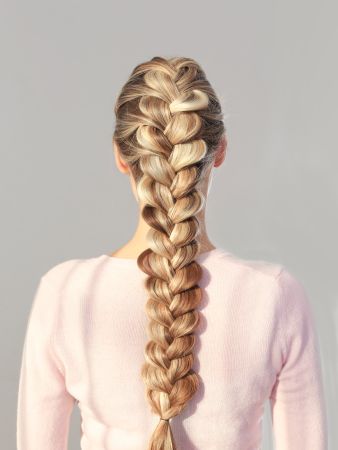
The three-strand French braid technique creates a V-shaped pattern. The special thing about it: You repeatedly pass the added strands over the main section to be crossed. Visually, the braid merges with the hair as it is braided over, giving the look its unmistakable, chic character. Although the French braid takes a little time to braid, the braid lasts a really long time, even several days. Even when sleeping, hardly any strands come loose.
Why is the French plait called that?
The French plait is also known as the French braid. The reason why this braided hairstyle is so popular is probably due to the elegance that this look radiates. The braiding technique originates from France, hence the name. The romantic braiding technique has a centuries-old tradition there.
French braid: Preparation is everything
As with all braided hairstyles, it is better if the hair has not been freshly washed. This gives it more grip and prevents it from slipping out of the hairstyle creation so easily. However, you can also get hair with grip that doesn't slip through your fingers with a little volumising powder or dry shampoo. To do this, apply to the roots of freshly washed hair in short sprays and distribute with your fingers. Wait a short time after spraying to allow the product to take effect. Now your hair is ready for the French braid.
Instructions for braiding yourself: How do you make a French braid?
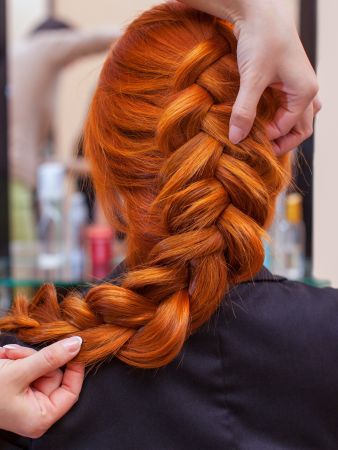
It's best to have someone braid this hairstyle for you. That's not because the French braid is complicated, it's just that you won't be able to manage the top of your head as well if you try it yourself. A friend or mum can easily help here. You need a brush, acomb and a hair elastic.
Here are the step-by-step instructions for the French plait:
- The hair must first be combed through thoroughly. If this is not so easy, a combing spray will help.
- The hair is combed completely out of the face and pulled tightly back.
- A section is then separated above the forehead in the centre.
- Then divide this section into three equal strands and start braiding.
- After braiding once from each side, add a fine, side strand to each strand of hair and continue braiding this together with the strand. The side strands should always be even. If they twist, they must be combed smooth.
- Secure the finished French braid at the end with a hair elastic.
If the hairstyle doesn't work straight away, simply practise again and again. After all, practice makes perfect.
What variations of the French braid are there?
French plait to the side
If you don't want to braid all of your hair, you can also create a side French braid. All you have to do is part your hair to the side and then braid the French plait on the wider side. To do this, divide the hair into three strands again. Whilst braiding, work in another loose strand of hair on each side. After securing, pull the braid a little wider with your fingers. A side French braid can be worn casually in a plait or romantically loose.
Half French plait
A half French plait is a hairstyle that starts halfway down the hair and then turns into a loose plait. To create a half French plait, a section of hair must be separated at the crown - this is divided into three sections. Then start braiding the hair as you would with a normal French plait. Once the desired height has been reached, the braid can either be secured with a hair tie or simply left loose to create a loose effect.
Dutch plait
A modified form of the French braid is the Dutch braid , which is braided close to the head and, as with the French braid, new strands of loose hair are integrated again and again. However, the strands of hair in the Dutch braid are integrated from the bottom instead of the top so that the braid rests on the top hair.
Two French braids: the double French braid
You can also braid two French plaits. Proceed as described in the instructions, but divide the hair into two plaits at the very beginning. Clip one of the plaits to the side so that it doesn't get in the way. You then braid one side first and then the part that has been clipped away.
How do you style a French braid?
In addition to the classic version, the French plait can also be braided and styled in a more relaxed way. It always depends on the occasion and, of course, the style. A normal French braid can look a bit staid in everyday life. It's fine for Oktoberfest and other classic occasions. At summer festivals, however, we prefer the loosely braided version. The strands are not braided so precisely and a few cheeky strands peek out here and there. This gives the look a casual hippie charm.
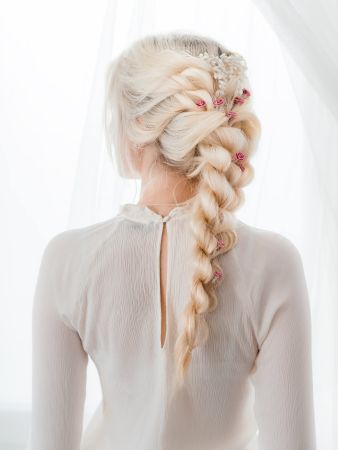
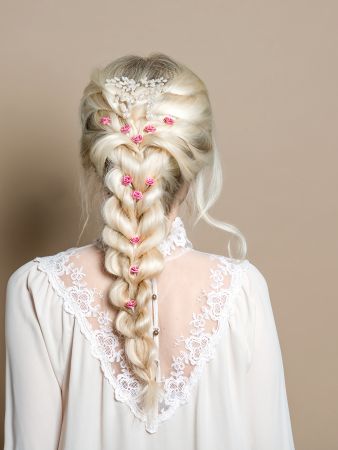
It is important that the undone look is only created afterwards. Braided hairstyles in particular should always be braided as tightly as possible at the base. If you want the braid to look loose, it can be plucked up as desired after braiding. To ensure the look lasts a long time, spritz a little hairspray over the finished style. This gives the finished braided hairstyle the necessary hold. The French braid holds even better than a simple ponytail. You can create a cool beach look with a few flowers in your hair. And at school, this braided style is guaranteed to attract envious glances.
Who does the French braid suit?
Medium to long hair is ideal for a French braid. If braided carefully, the hair will stay where it should be. The side braid running parallel to the forehead is great for short bob-length hair . If a few hairs stick out, simply help them out with a little hairspray and hair clips. The French braid in all its variations looks best with longer, thicker hair. However, women over 40 should only go for this look on holiday. The French plait is simply a hairstyle for the younger generation.


